
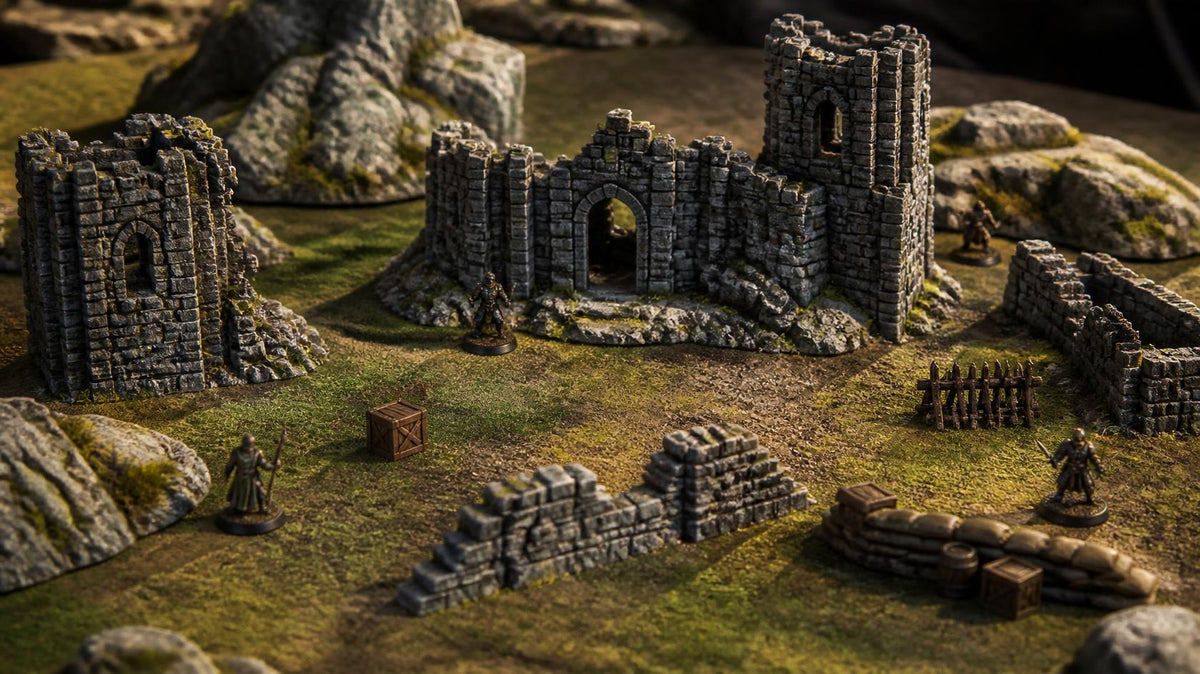
A good table makes every game better, and buying enough terrain to fill one gets expensive fast. A 3D printer changes that. Ruins, rocks, barricades, crates and buildings are all things a printer handles well, and once you've got the hang of a few painting tricks, printed terrain can look as good as anything in a box.
Step 1: Print It Right
Terrain is forgiving to print, but a few choices make life easier later.
- PLA is fine for terrain. It lives indoors and doesn't take impacts, so you don't need anything fancier. PLA+ is cheap, easy and paints well.
- Use a larger layer height. Stone, wood and rubble textures hide layer lines, so there's no need to print terrain at miniature quality.
- Go light on infill. Big pieces don't need to be solid. Low infill saves a lot of filament and print time.
- Print in a neutral colour. Grey or black filament means any spot you miss with primer won't stand out.
- Split big pieces. Large buildings are easier to print, paint and store in sections.
For a full table's worth of terrain, or pieces too big for your printer, we can print them for you through Rising Sun 3D.
Step 2: Base and Texture
Gluing terrain to a base and adding texture is what makes it look part of the ground, rather than an object sitting on the table.
- Spread PVA glue around the footprint and sprinkle on sand or gravel, such as All Game Terrain Natural Blend Sand.
- Add a few boulders for variety.
- Once dry, seal it with a watered-down PVA mix so the texture doesn't flake off under paint.
Step 3: Prime Dark
Prime terrain black or dark grey. Every crack and recess stays in shadow, and the next step does the highlighting for you. A rattle can like Chaos Black covers quickly. Print the terrain in a dark colour and you can sometimes skip this step altogether.
Step 4: Drybrush Your Way Up
Drybrushing is the secret to fast, good-looking terrain. Load a large, soft brush with a lighter colour, wipe almost all of it off, then flick it across the surface. The paint only catches the raised edges and texture.
For grey stone, try three passes, each one lighter and lighter-handed than the last:
- A mid grey over the whole piece
- A light grey on the raised areas
- A very light touch of off-white on the sharpest edges
A large Warhaus Dry Brush makes quick work of big pieces, and Citadel Dry paints are made for exactly this.
Step 5: Add Colour and Grime
Pure grey looks unfinished. A few touches of colour bring it to life:
- Patches of brown or green wash in low areas for dirt and moss
- Rust on metal details. See our weathering guide
- A different colour for wood, doors and crates so they stand out from the stone
Step 6: Greenery
Tufts and grass are the finishing touch that makes terrain look natural.
- Gamers Grass tufts are self-adhesive. Peel and stick, no mess.
- Static grass and foliage clumps cover larger areas.
- A few flower tufts add a splash of colour.
Match your terrain to your miniature bases and the whole table will look like one place. Our basing guide uses the same materials.
Step 7: Seal It
Terrain gets handled every game. A coat of matt varnish, or a sealer like All Game Terrain Super Seal for flocked areas, stops paint chipping and grass shedding.
Browse Terrain Supplies
Everything in this guide is in our Terrain & Basing range. And if you want to see what printed terrain can look like, drop into the shop at 22 Castlemaine Street, Kirwan.